OK, It is possible to turn the ESP8266 into an mcu for LoRa, and have it sent "hello world" messages. The initial hardware connections were described on the previous page. But using the ESP only makes sense if we have enough power and pins left to connect real sensors to the device.
The code of the ESP8266 can easily be extended to turn the ESP into a sensor node for temperature for example. IN order to do so, connect the D4 pin to an DS18B20 Dallas sensor and load the sketch for the DS18B20.
These connections must be made as a minimum to get the ESP8266 work with the RFM95 and the LMIC software. The software will probably also work on other ESP866 nodeMCU based boards, but pay attention as their pin layout might be different.
| RFM95 | LMIC | ESP8266 pins | NOTEs |
|---|---|---|---|
| DIO5 | Leave open | ||
| DIO4 | Leave open | ||
| DIO3 | Leave open | ||
| DIO2 | .dio[2] | D3, GPIO3 | Does not work standalone as D3 is used to select boot=up. Only works with UART connected and flashing. Leave open! |
| DIO1 | .dio[1] | D2, GPIO4 | Must be connected |
| DIO0 | .dio[0] | D1, GPIO5 | Must be connected |
MISO |
D6, GPIO12 | ||
MOSI |
D7, GPIO13 | ||
| SCK | D5, GPIO14, CLK | ||
| NSS | .nss | D8, GPIO15 | |
| RESET | .rst | D0, GPIO16 | No interrupt support (which is OK) |
| D3, GPIO3 | D3 is used to select boot-up. Only works with UART connected and flashing. Probably leave open! |
||
| D4, GPIO2 | Connected to DS18B20 OneWire sensor |
The Dallas DS18B20 sensor is connected to the OneWire bus. The bus is available for the ESP8266 but due to different word size of Arduino and the ESP8266 a dedicated library is made fo rthe ESP8266. It is found on github (see software section below).
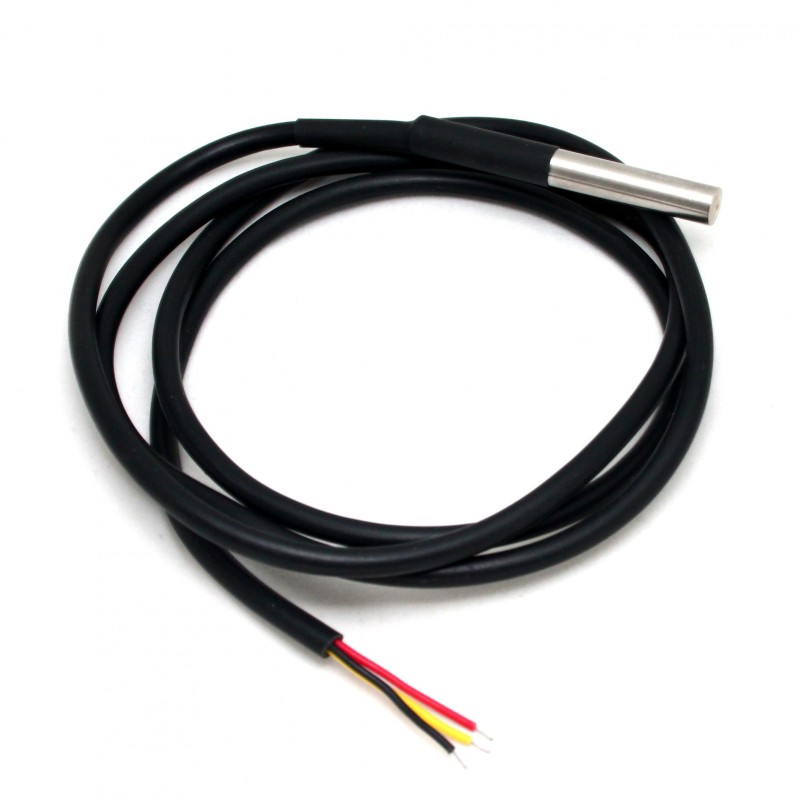
The sensor itself comes in several packages, the cheapest one is a transistor-like device with only 3 pins. It is the cheapest variant. The sensor that I use most often is a waterpoof package that sells for about $1.50 a piece on ebay (package of 5) and it has a 1 meter hookup cable which makes it ideal for outdoor experiments etc.
As said above, use the D4 pin to connect the DS18B20 device to the ESP8266 board.
The sketch software to run the ESP8266 temperature node is found <HERE> on github.
NOTE: Please make sure to copy the lmic-1.5 library and the OneWireESP from the libraries directory as well, as they is used by this sketch.